Navigating the aftermath of roof damage can be a daunting task for any homeowner. This guide aims to demystify the insurance claim process, offering practical advice to expedite every stage—from initial damage report to final repairs. In fact, this guide will be much more directive with checklists/steps in each section to provide clarity in how homeowners might best handle a damaged roof.
We’re going to review the following major sections and provide direction in each:
- Immediate Steps After Roof Damage
- The Inspection Process and Preparation
- Common Delays in the Insurance Claim Process
- Adjustment and Claim Approval Process
- Repair Work Post-Claim Approval
- Finalizing the Insurance Claim and Repair Process
- Future Claims
All that said, if you’re really busy, the summary of the entire process is best captured as:
- Homeowners should be proactive
- Document everything
By equipping homeowners with the knowledge to avoid common pitfalls and streamline interactions with all parties involved, we endeavor to make the journey smoother and ensure your roof is promptly and properly fixed.
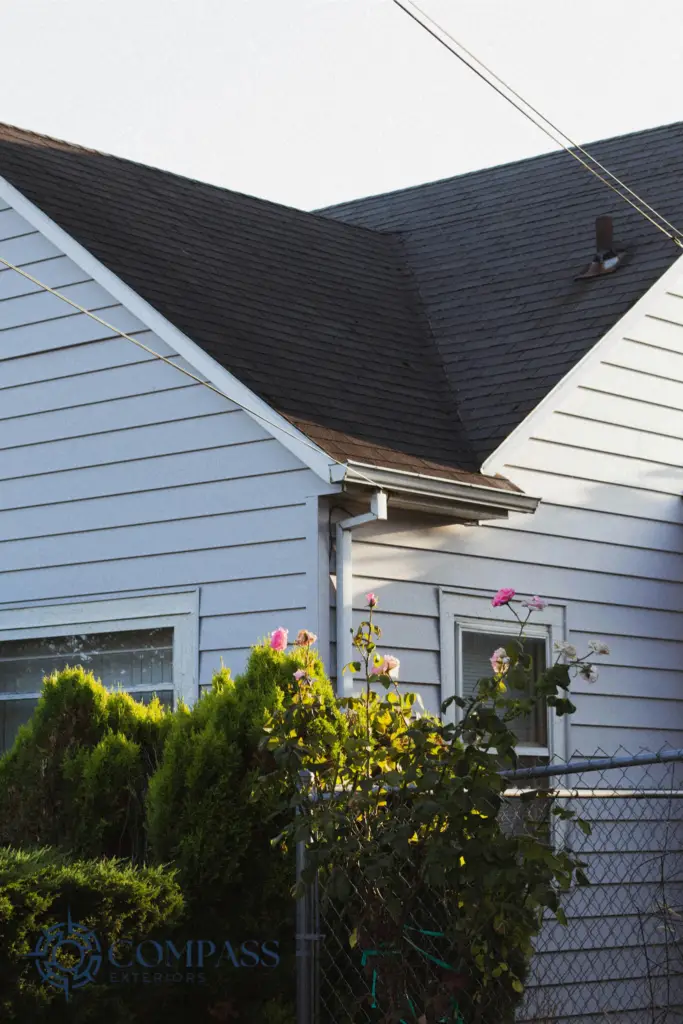
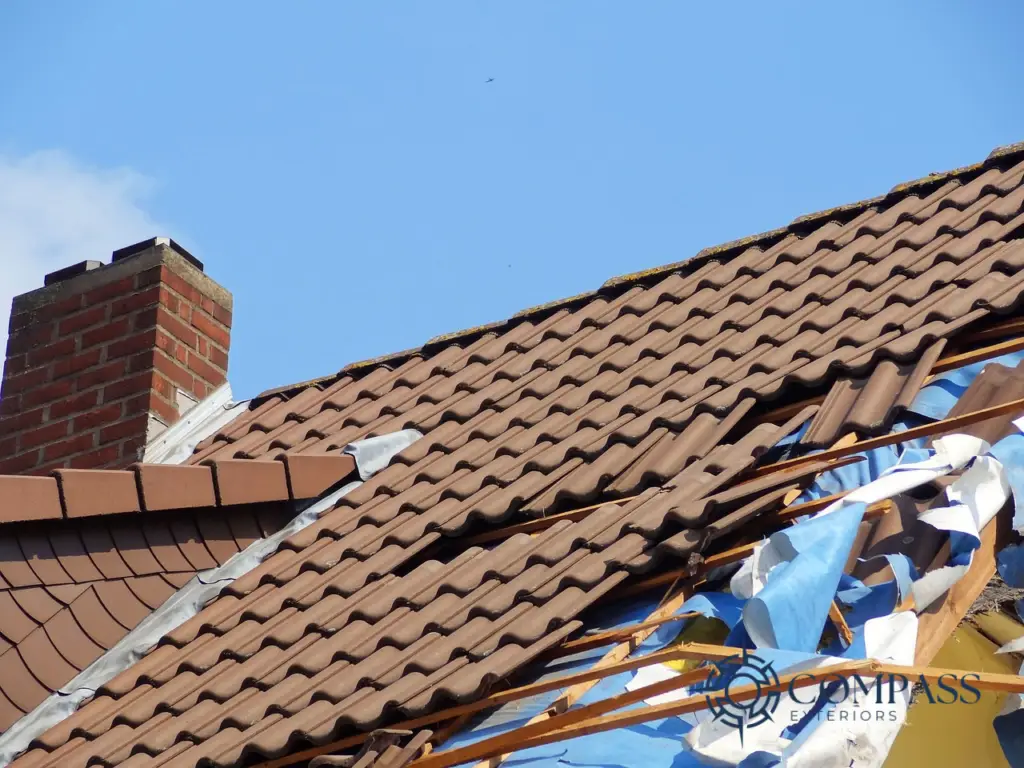
Immediate Steps After Roof Damage
The moments following the discovery of roof damage are crucial for homeowners. Here are a few steps to minimize stress as you begin the journey.
- Ensure Safety: Prioritize the safety of all household members. Take immediate action to prevent further damage if safe to do so, such as covering leaks with a tarp.
- Document Damage: Carefully photograph the damage from various angles and distances to provide a comprehensive view. This documentation is crucial for the claims process.
- Be Mindful of Communication: When interacting with roof adjusters, focus on stating facts without implying fault or speculating about damage causes.
- Mitigate Further Damage: Where possible, without risking safety, take temporary measures to protect your home from further damage.
- Record Details: Note the date and time of the damage, and any events leading up to it, as this information can be useful during the claim process.
Following these steps diligently sets a strong foundation for the insurance claim process, ensuring clarity and a smoother progression through subsequent stages.
The Inspection Process and Preparation
Once the immediate aftermath is addressed, the inspection process is your next critical step. Here’s how to navigate it effectively:
- Schedule an Inspection Promptly: Contact your insurance company to report the damage and schedule an inspection. The sooner this is done, the quicker the claim process can begin.
- Prepare for Inspection: Have all your documentation ready — photos, notes, and any receipts for emergency repairs.
- Consider a Second Opinion: Hiring an independent contractor to inspect the roof can provide a comparative analysis, which might be beneficial if discrepancies arise with the insurance adjuster’s assessment.
- Detailing Damage: Ensure the inspector checks all areas, including those not immediately visible. Full documentation by the inspector is crucial for a thorough claim.
- Communicate Effectively: Be present during the inspection to discuss your concerns but avoid making speculative statements that could affect the claim.
These steps not only prepare you for a smooth inspection process but also equip you with the knowledge to ensure your claim is thoroughly and accurately assessed.
Common Delays in the Insurance Claim Process
The insurance claim process for roof damage can encounter delays for various reasons, impacting the time it takes to get repairs underway. Understanding these common slowdowns can help you navigate and possibly expedite your claim:
- Complex Claims: Highly complex or large claims may require additional assessments and validations, prolonging the process.
- Incomplete Documentation: Insufficient or unclear documentation of the damage can cause back-and-forth communication, delaying approval.
- High Claim Volumes: During peak times, such as after a major storm, insurance companies may face high volumes of claims, leading to longer processing times.
- Discrepancies in Damage Assessment: Differences in damage assessments between insurance adjusters and contractors can result in reassessments and negotiations, adding time to claim processing.
- Communication Gaps: Delays often occur due to miscommunication or lack of timely responses from any involved party.
To mitigate these issues, ensure thorough documentation, maintain open and consistent communication, and understand the typical workload of your insurance provider during peak seasons. Being proactive at each step can help move the process along more smoothly.
Adjustment and Claim Approval Process
The adjustment and claim approval stage is where your insurance company assesses the damage and determines the claim value. Delays here can arise from unclear policy coverages or discrepancies in the damage assessment. To expedite this phase:
- Provide Complete Documentation: Submit all necessary documents and photos upfront to avoid requests for additional information.
- Understand Your Policy: Be familiar with your policy details to discuss coverages and exclusions effectively.
- Respond Promptly: Quick responses to requests from your insurer can prevent unnecessary delays.
- Use Clear Communication: Clearly articulate the extent of the damage and repair needs to avoid misunderstandings.
- Follow Up Regularly: Regularly check in on the status of your claim to keep the process moving and address any issues quickly.
Efficiently navigating this phase requires a balance of assertiveness and patience, ensuring that all parties have the information they need to move forward with the claim approval and repair process.
Ensuring Prompt Repair Work Post-Claim Approval
Once your claim is approved, the focus shifts to beginning repair work. Delays can occur due to contractor availability or unforeseen complications with the repair itself. To avoid these and ensure timely repairs:
- Select a Reputable Contractor: Choose a contractor with experience in insurance work and a track record of timely project completion.
- Communicate Clearly: Ensure your contractor understands the scope and insurance terms, facilitating smoother cooperation.
- Secure Necessary Permits: Begin the process of obtaining any required permits as soon as possible to avoid delays.
- Schedule Promptly: Coordinate schedules between yourself, the contractor, and the insurance adjuster to avoid conflicts and ensure work begins swiftly.
- Prepare for the Unexpected: Anticipate potential delays due to weather or additional damage discovery and plan accordingly.
Being proactive in selecting and working with your contractor, along with effective communication and preparation, can significantly reduce delays, allowing your repair work to commence and conclude efficiently.
Finalizing the Insurance Claim and Repair Process
The completion of repair work marks the final stage in the insurance claim process. To ensure a smooth wrap-up:
- Document Repairs: Take detailed photographs of the completed repairs for your records and potential future claims.
- Review Work: Inspect the repairs with your contractor to ensure they meet the agreed standards and address any concerns immediately.
- Finalize Claim Paperwork: Submit any final documentation required by your insurance company, including invoices and proof of completed work.
- Release Final Payment: Coordinate with your insurance to release the final payment to the contractor once all parties are satisfied.
- Post-Repair Follow-up: Consider a follow-up inspection after a few months to ensure the repairs have held up, especially after severe weather conditions.
Closing your claim effectively involves diligent documentation and review of the completed work. This ensures that both the homeowner and the insurance company are satisfied with the outcome, paving the way for a successful resolution to the claim process.
Preparing for Future Incidents to Streamline Claims
To facilitate smoother insurance claims for potential future roof damage:
- Maintain Records: Keep detailed records of all repairs, warranties, and inspections. This documentation can expedite future claims by providing a clear history of your roof’s condition.
- Regular Inspections: Schedule annual or bi-annual inspections with a roofing professional to catch and document any wear or damage early.
- Update Your Insurance Company: Inform your insurer about significant repairs or upgrades, as this can affect your coverage and premiums.
- Educate Yourself: Stay informed about your insurance policy’s terms and coverage changes. Understanding your policy can help you advocate effectively for yourself in future claims.
By taking proactive steps now, you can significantly reduce the stress and delays associated with navigating roof damage claims in the future, ensuring a quicker path to recovery.
Conclusion
The path from damage assessment to repair completion is often fraught with potential delays and obstacles. We hope this article has helped alleviate some of the stress that comes with the journey, but if you still have questions or are in a roofing claim process yourself, please reach out to Compass Exteriors to discuss your situation.