In the realm of home construction, attention to detail is not just about aesthetics—it’s crucial for ensuring the structural integrity and energy efficiency of a building. One such detail, often overlooked but vitally important, is flashing. Flashing is a type of material—typically metal—used to direct water away from critical areas of a house, such as roofs, windows, doors, and chimneys, preventing water infiltration that can lead to severe damage.
The Importance of Proper Flashing
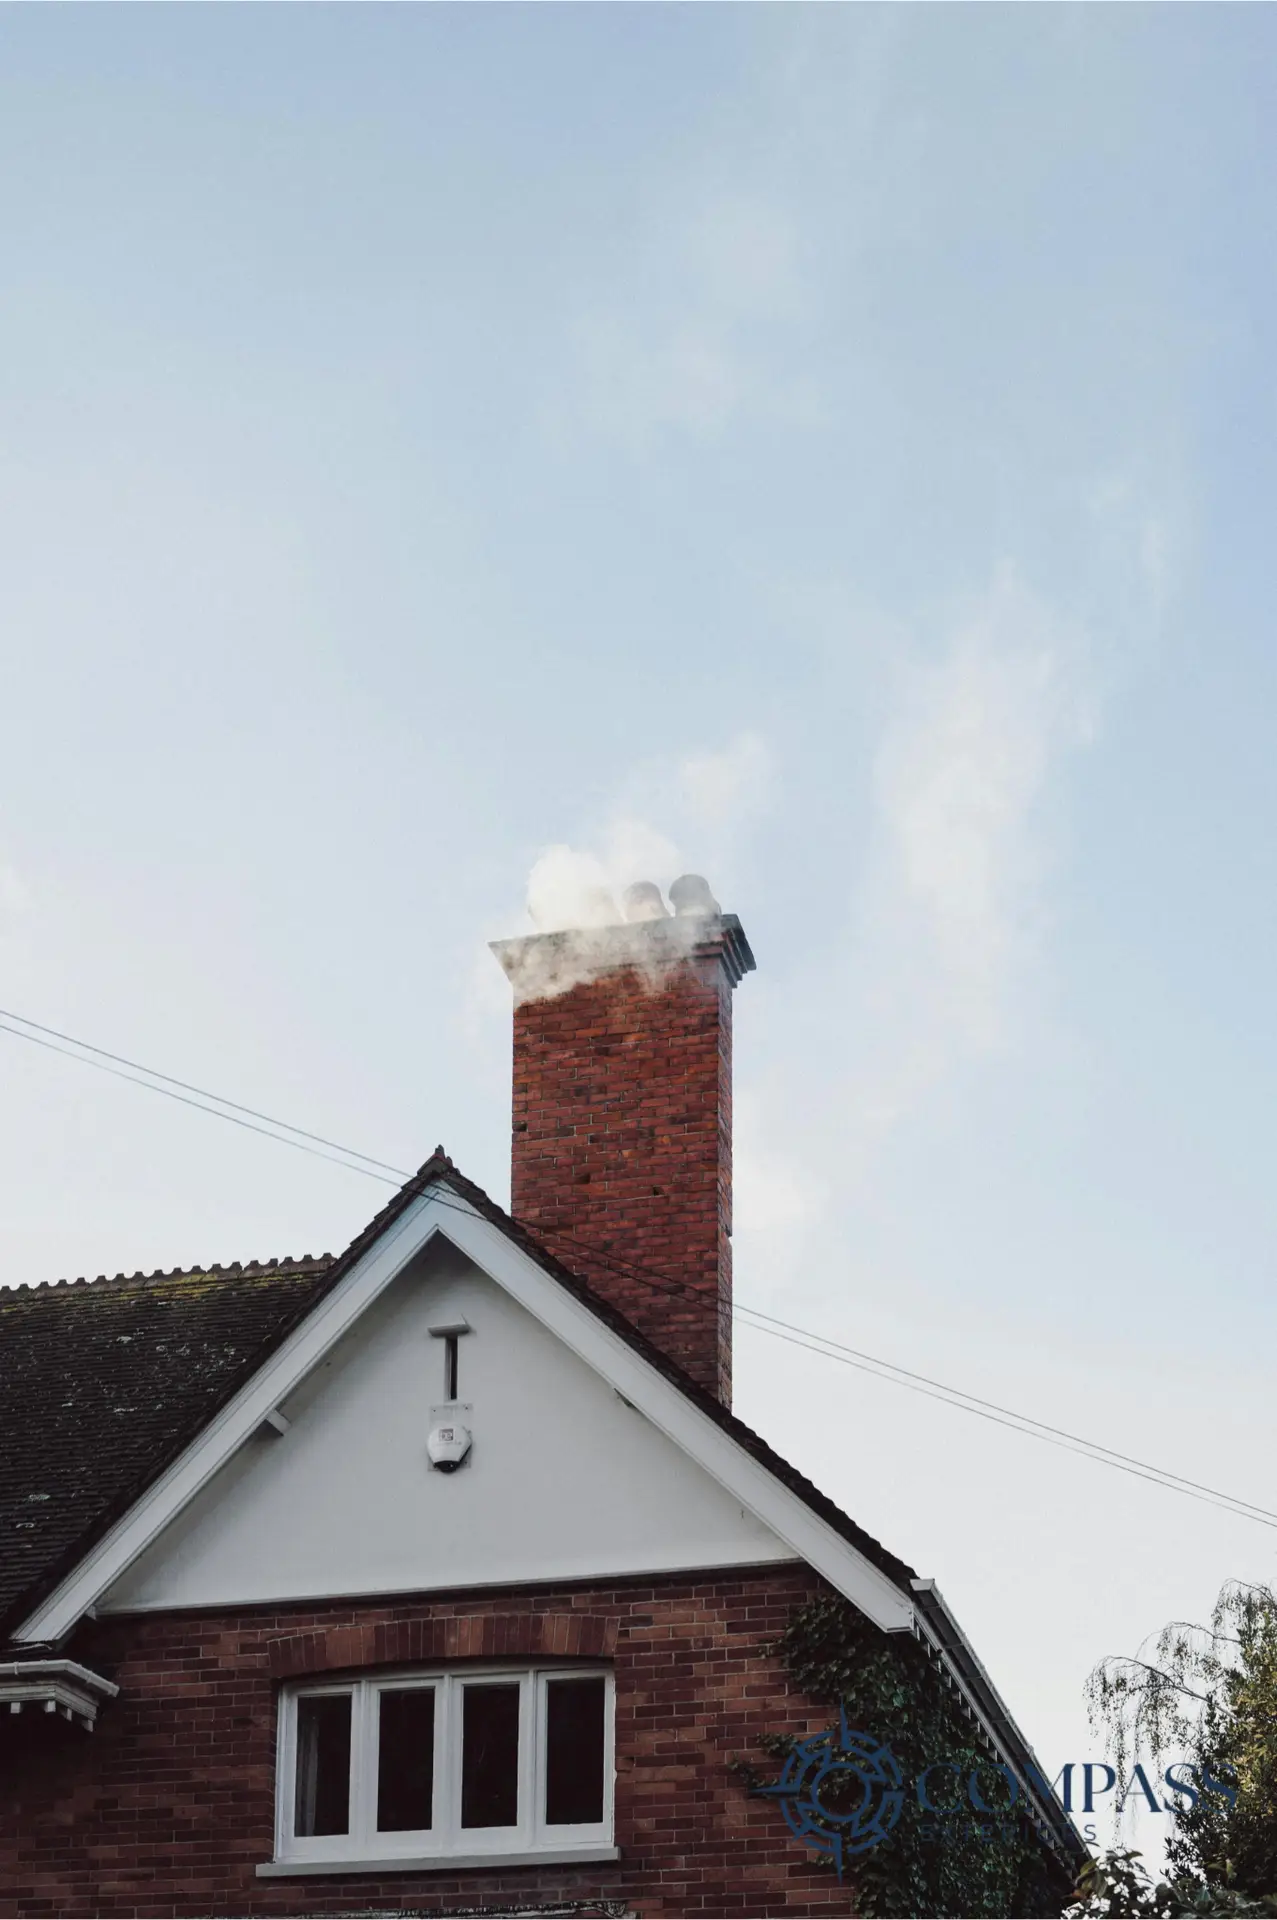
The importance of proper flashing installation cannot be overstated. Incorrectly installed or damaged flashing is a primary culprit behind common household issues like ice dams on roofs, pervasive water damage within walls, the growth of harmful mold, structural damage to the wood or framework, and a noticeable decrease in energy efficiency. For instance, imagine a home during the winter where the flashing around the chimney is compromised. Melting snow can seep into the gaps, refreeze, and create an ice dam. This dam can cause water to back up under the shingles, leading to leaks, insulation damage, and increased heating costs. Such scenarios underscore why maintaining intact and correctly installed flashing is critical for protecting a home from a variety of environmental threats.
Common Areas for Flashing Installation
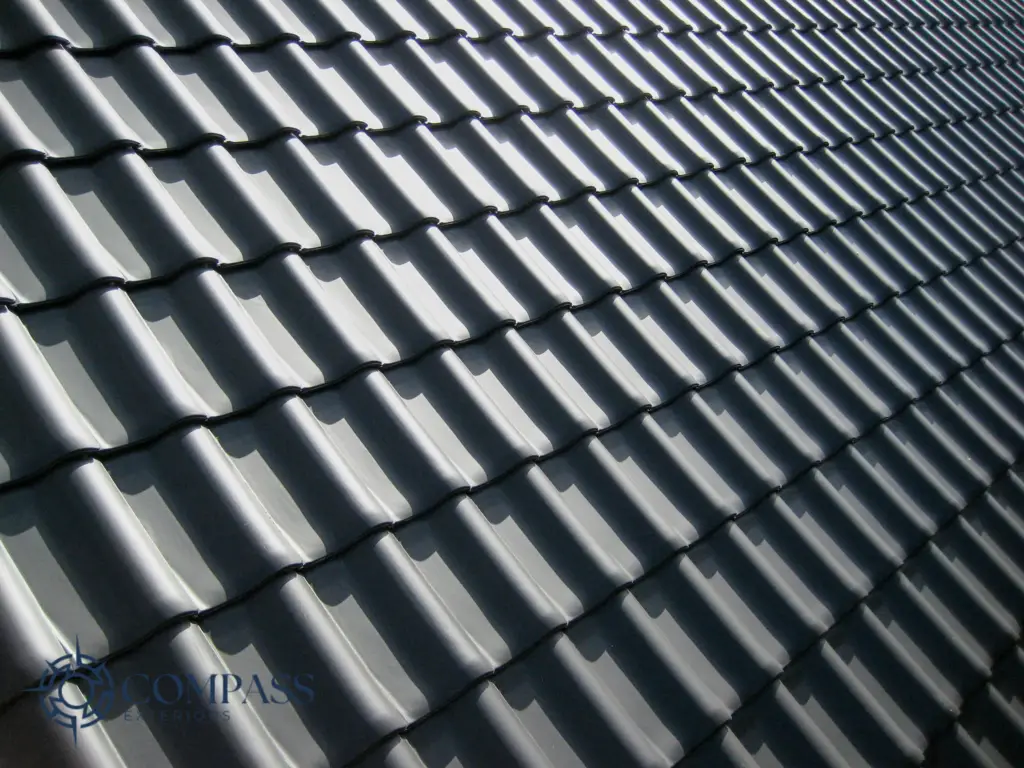
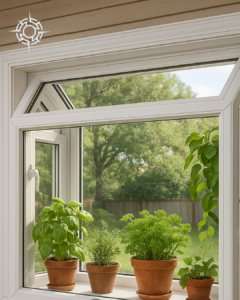
Flashing is typically installed in several critical areas around a home to prevent water damage and maintain structural integrity. The most common locations include the roof, chimney, windows, and doors. Specifically, roof flashing is used to protect joints and edges where water runoff is most prevalent, such as around vents and skylights. Chimney flashing, another crucial type, helps seal the intersection between the chimney and the roof, preventing water from pooling and seeping into the house.
Window and door flashing are also vital, as these areas are susceptible to water ingress, which can lead to mold growth and structural decay if not adequately protected. In homes with flat roofs, flashing is essential along the edges and at points where equipment or other structures penetrate the roof surface to ensure complete water tightness. Recognizing these common areas and understanding the role of flashing helps homeowners maintain their property’s integrity and efficiency.
How to Check Flashing for Damage or Poor Installation
To ensure the effectiveness of flashing and safeguard your home against water damage, regular inspections are crucial. Here’s how to check flashing for signs of damage or poor installation:
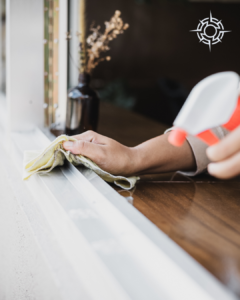
- Visual Inspection: Start with a visual inspection from the ground. Use binoculars if necessary to get a closer look at the roof, chimney, and around windows and doors. Look for any signs of rust, cracks, or gaps in the flashing.
- Closer Examination: If safe, use a ladder to examine the flashing up close. Check for loose pieces or areas where the flashing doesn’t sit flush against the roof or wall. This can indicate poor installation or shifting due to weather conditions. Check the caulk seals for signs of wear such as cracking and separation from flashing.
- Signs of Water Damage: Inside the house, check for stains on the ceilings or walls near the flashing areas. Water marks or mold growth can indicate that water is penetrating due to faulty flashing.
Regular checks like these can help identify potential issues early, allowing for timely repairs that prevent more extensive damage to your home. While some flashing repairs can be straightforward, knowing when you can handle them yourself and when to call a professional is essential for maintaining your home’s integrity. Here are some guidelines and tips for DIY flashing repair and recognizing when to seek professional help.
DIY Flashing Repair Solutions
Feasibility of DIY Repairs: DIY repairs are most feasible for minor issues such as small cracks or gaps where water isn’t yet a problem but could become one if left unaddressed. These repairs generally do not require extensive roofing knowledge but do demand precision to ensure that further damage doesn’t occur.
Simple Repair Tips:
- Sealing Cracks: For small cracks or gaps in the flashing, a high-quality roofing sealant can be an effective solution. Ensure the area is dry and clean before applying the sealant. Use a caulking gun to apply a bead of sealant along the crack, ensuring it’s fully covered and the sealant is smoothing out to create a waterproof barrier.
- Replacing Small Sections: If a section of flashing is bent or rusted, it may need to be replaced. Measure the affected area and cut a piece of similar material to fit. Remove the damaged section carefully, and fit the new piece in place, ensuring it overlaps with existing flashing for a watertight seal. Secure it with roofing nails and seal the edges with roofing sealant.
Tools and Materials Needed:
- Caulking gun
- Roofing sealant
- Tin snips for cutting metal flashing
- Replacement flashing material
- Roofing nails
- Crowbar
- Hammer
- Ladder for safe access to the roof
These simple repairs can extend the life of your flashing and prevent minor issues from becoming major problems.
When to Call a Professional

Recognizing the Need for Professional Help:
- Extensive Damage: If large areas of flashing are missing, visibly damaged, or if you observe water damage in your home like stains or mold near the roof, walls, or ceiling, it’s time to call a professional. Extensive damage typically requires complete removal and replacement, which can be complex and risky without the right tools and expertise.
- Complex Areas: Flashing around complex structures like chimneys or joining points on different roof levels may also require professional intervention, especially if the sealing involves intricate work or specific materials.
Importance of Professional Intervention
Professional roofers not only have the necessary tools and materials but also the expertise to ensure that flashing is installed correctly to provide maximum protection against water and the elements. Their intervention is crucial for:
- Ensuring that all parts of your home’s exterior are adequately protected from water damage.
- Preventing potential structural issues that can arise from water ingress, which might not only be more costly to repair but could also pose safety risks to inhabitants.
Ultimately, while some flashing issues can be addressed with DIY solutions, recognizing when professional help is needed can save you time, money, and ensure your home remains safe and dry. Enlisting the help of professionals like those at Compass Exteriors Remodeling ensures that any replacement or installation is done correctly, providing peace of mind and securing your home against future issues.
How Compass Exteriors Remodeling Can Help
Compass Exteriors Remodeling stands as a trusted ally in home renovation and repair, specializing in the critical task of flashing inspection, repair, and replacement. Our professionals possess deep expertise in managing complex flashing issues, ensuring your home remains safeguarded against water damage and structural decay. We encourage homeowners to regularly check their flashing and consult with our experts if they want a second pair of eyes on the situation. By partnering with Compass Exteriors, you ensure that any flashing repairs or replacements are executed flawlessly, maintaining the integrity and efficiency of your residence. Send us a contact form or call us today to schedule a consultation and learn more about how we can assist in preserving your home’s health and safety.